Repository’s
Neu lokal anlegen.
git initVom Server klonen.
git clone https://github.com/...Mit Server synchronisieren.
git pullBranch
Brach anzeigen, wechseln und erstellen.
# Show branches
git brach

# Change brach
git checkout BranchName

# Create new brach
git checkout -b NewBranchName

# Change branch wihout adding changed or new files
git clean -f

> To see whitch files will be deleted
git clan -n
Working
Status abfragen.
git statusGeänderte oder neue Dateien/Dateipfade zum Repository hinzufügen.
# Add a file to the stage
git add FILENAME.txt
git add Folder/SubFolder/

# Add all files (also untracked) to the stage
git add -A

# Add only modified files to the stage
git add -u

# commit changes
git commit -m "commenet for commit"
Dateien vom Repository löschen.
rm FILENAME.txtCommits anzeigen.
git logAuf Server hochladen.
git push.gitignore
Erstelle eine Datei mit dem Namen .gitignore
# (this is a comment)
# Data formats that will be ignored:
*.aux
*.bak
*.log
*.pdf
# Folder that that will be ignored:
Pics/
# File thet will be ignored in root directory:
/text.txt
# File thet will be ignored in sub directory:
/sub/text.txt
Initiale Konfiguration
Name.
git config --global user.name "Your Name"E-Mail.
git config --global user.email "youremail@domain.com"Back to Commit
git reset --hard commitIDTools
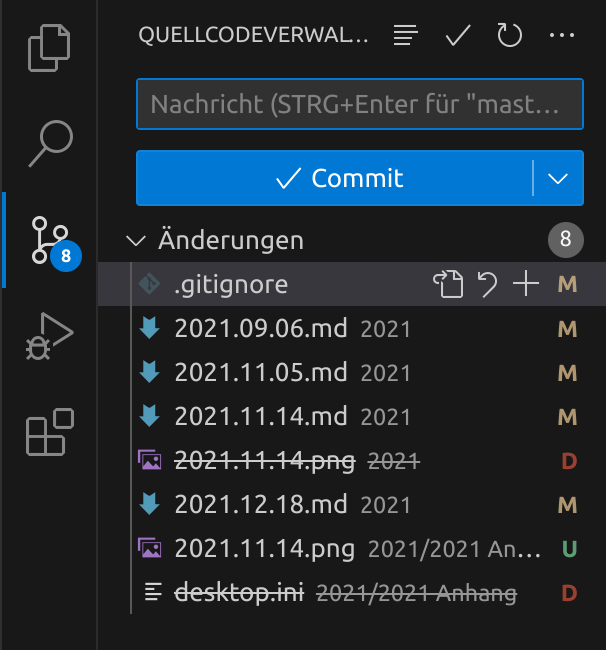
Visual Studio Code empfiehlt sich als GUI gewissenhaft. Neben der Darstellen der Tesxtdateien können auch gängige Git Anweisungen durchgeklickt werden.